Our in-house LoRaWAN technical expert, Paul, decided to build his own LoRaWAN DIY gateway. Find out how he did it in this blog post. If you want to experiment with LoRaWAN and aren't lucky enough to live somewhere already covered by an existing The Things Network gateway, you'll need to buy or make ...
06 Jul 2020 By: Paul Hayes
Our in-house LoRaWAN technical expert, Paul, decided to build his own LoRaWAN DIY gateway. Find out how he did it in this blog post.
If you want to experiment with LoRaWAN and aren't lucky enough to live somewhere already covered by an existing The Things Network gateway, you'll need to buy or make your own LoRa gateway.
When I initially started my own testing of LoRaWAN technology I built a DIY LoRaWAN gateway.
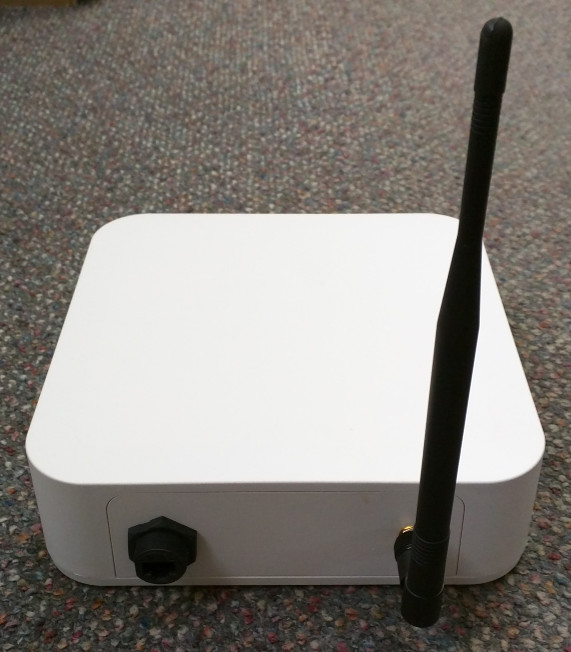
[caption id="attachment_76" align="aligncenter" width="170"]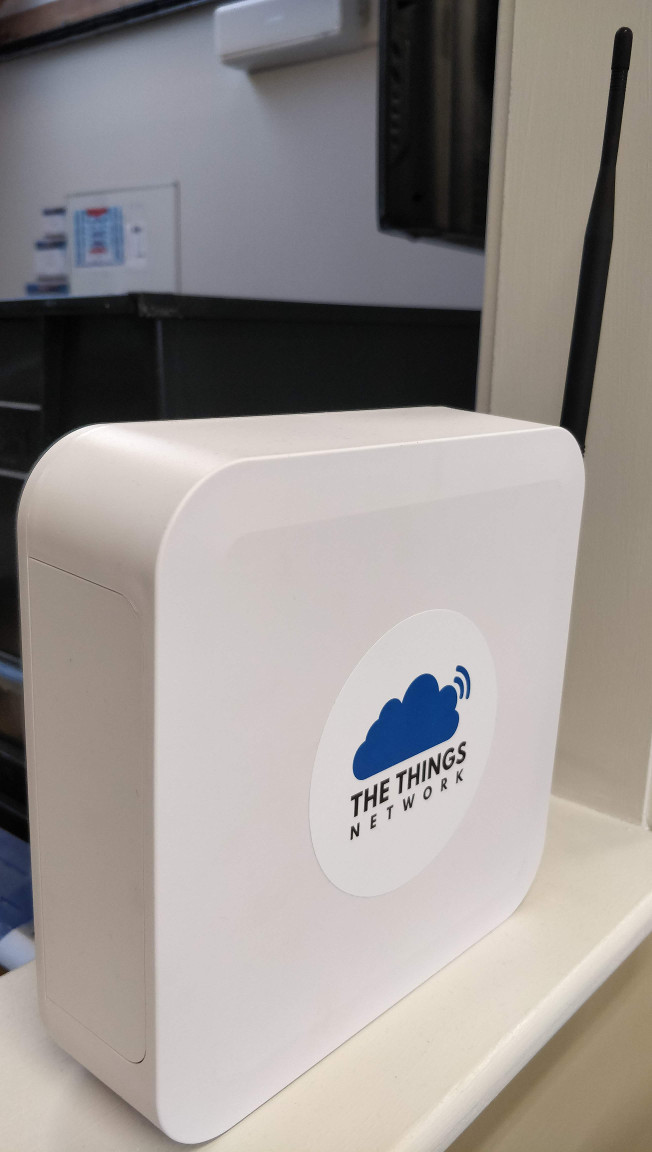 The finished gateway[/caption]
Having already read a few guides and blog posts on building a DIY LoRaWAN gateway using a Raspberry Pi as the controller, I figured this was the best way to go. I've been using Raspberry Pis for experimentation for years, have loads of them at my disposal in the office and know how to use them.
My requirements were something that is a nice self-contained box that can sit in our office and look reasonably good as opposed to a pile of circuit boards on a test bench. I wanted to connect it directly to Ethernet and power the whole thing using Power over Ethernet (PoE) instead of a separate power supply.
My DIY LoRaWAN gateway is for indoor use only, just to keep things simple for the housing.
First, I collected the following parts:
I already had various Ethernet cables and tools. Not many tools are needed, a small drill with a selection of drill bits, selection of screwdrivers, sharp knife (Stanley knife or art knife) for cutting the ABS sheet, some cable ties.
You will also need a method of writing to an SD card, either a USB card reader or a card reader built into your PC/laptop.
I think a picture speaks a thousand words here so this is a picture showing the internal parts inside my DIY LoRa gateway:
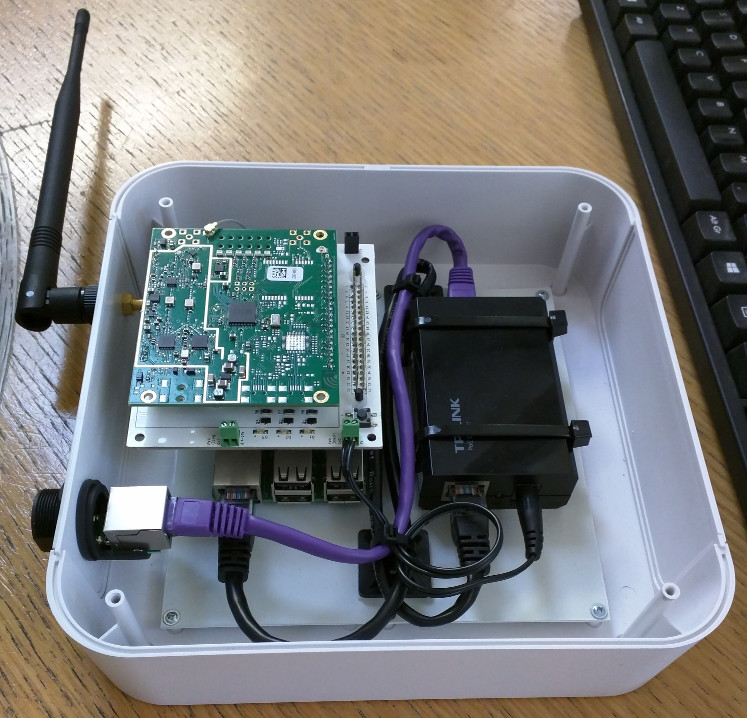
[caption id="attachment_81" align="aligncenter" width="300"]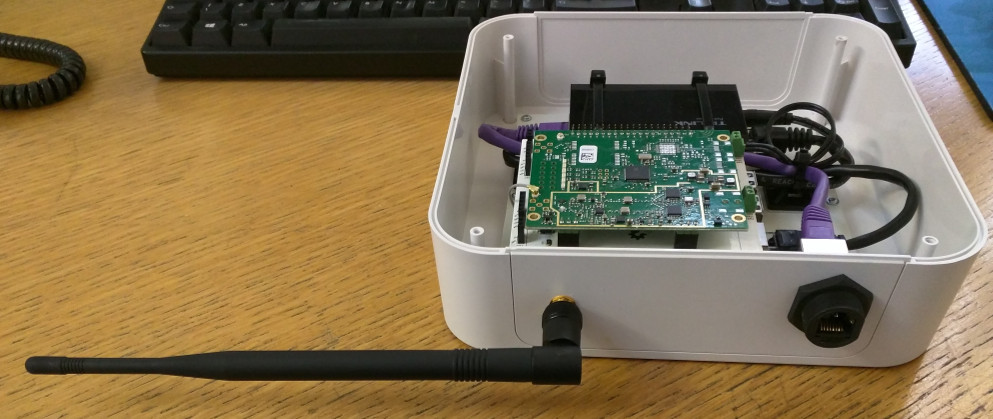 DIY gateway[/caption]
The Things Network have excellent documentation already so I've leave this part largely for the reader to work out. If you've managed the above steps then this will be straight forward.
One thing to note is that you need to select "Legacy Packet Forwarder" when adding the gateway in the TTN Console. Once you've done this you should soon see the status to go "connected" with a green icon, this means you're ready to go!
[caption id="attachment_84" align="aligncenter" width="1076"] DIY gateway in the TTN Console[/caption]
This is a fairly quick, relatively cheap way of getting a fully capable LoRaWAN gateway up and running. I would consider it suitable for experimentation & hobby purposes.
Whilst I've found in the past that Raspberry Pis will trash their SD cards from time to time, my gateway has been running mostly non-stop for about 8 months now without any issues. I've only powered it down once or twice though to move it to a different location in our office.
The total cost will be about £250. Commercial, off the shelf LoRaWAN gateways are now getting down to that price. The LorixOne gateway we sell for example, isn't too far off now:

Certifications


![]()
